Business page
Creating a page
Adding another business page to an account you already have. It is the same short wizard as sign-up, minus the parts that identify you — it starts at the business itself.
Steps
-
Get here from Create New Page on the Pages screen, or the Create page pill in the Dashboard's Quick actions. Because you are already signed in, the wizard opens on the business step.
-
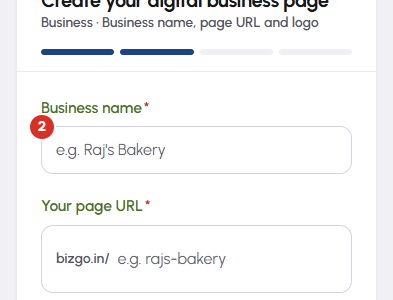
Enter the Business name. Your page URL fills itself in from that name and is the part after bizgo.in/ — edit it if you want, and the wizard tells you whether it is free. Choose it carefully: it cannot be changed once the page exists.
-
Add a logo if you have one, then the WhatsApp number customers should reach you on, and an email for receipts and renewal reminders. Press Continue.
-
Pick this page's plan. The button names your choice, so it reads Continue with Basic or Continue with Premium. Free is one of the options. What each plan includes is on the pricing page.
-
The preview shows the new page at its real address. On the free plan it publishes at once; on a paid plan you go on to payment, and the page is live when that finishes. Either way you land back on your dashboard, and the first time you open the new page in the editor an AI draft is waiting — already written from what you have just entered. Nothing is on your page until you accept a card and save.


